

MOVA DIY: Winter Vases
DIY Winter Vases
Want more? Watch MOVA DIY Travel Ornaments
Here is a step-by-step tutorial on how to make a winter wonderland vase. We love these vases because they are super versatile and only take a few cheap materials to make.What you'll need:
- Snow-Tex Deco Art
- Blue painter's tape
- Stencil brush
- A vase
- Vase stuffer
Step 1
Take blue painter’s tape and wrap it around the vase. This is how we will create our horizontal stripes. When you are making your horizontal stripes, you want to make sure you to stack them directly on top of each other. To get perfectly straight lines, try to avoid overlapping the tape. If you aren’t feeling horizontal stripes for your vase, you can try vertical stripes or any other creative pattern.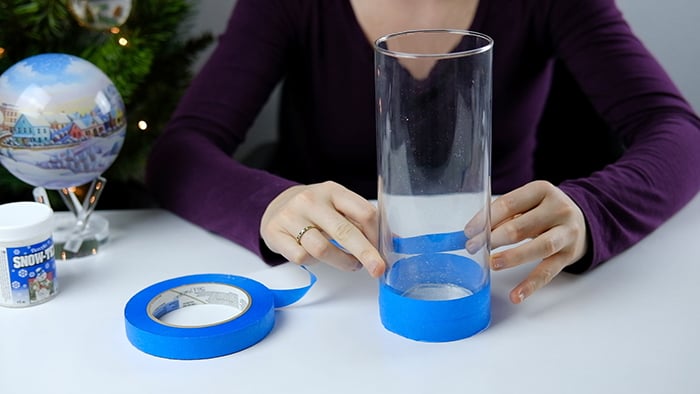
Step 2
Remove every other line of tape. This will leave you with the desired pattern that you want for your vase.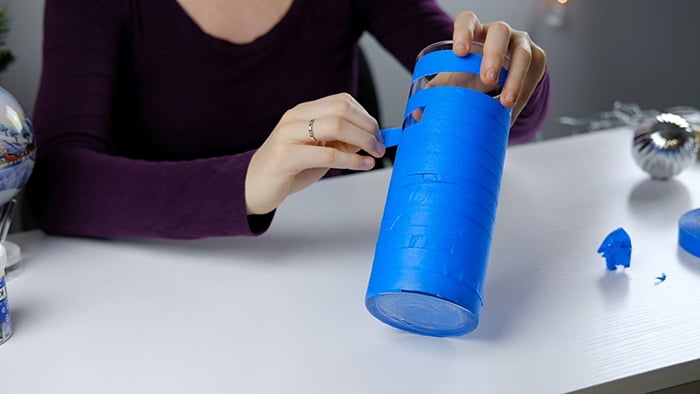
Step 3
Create snow pattern using Snow-Tex Deco Art and stencil brush. Make sure you are dabbing the Snow-Tex onto the vase. Do not use strokes like a normal paint brush. You can continue dabbing until none of the glass is showing.
Step 4
Let vase dry. This will take about 30 minutes.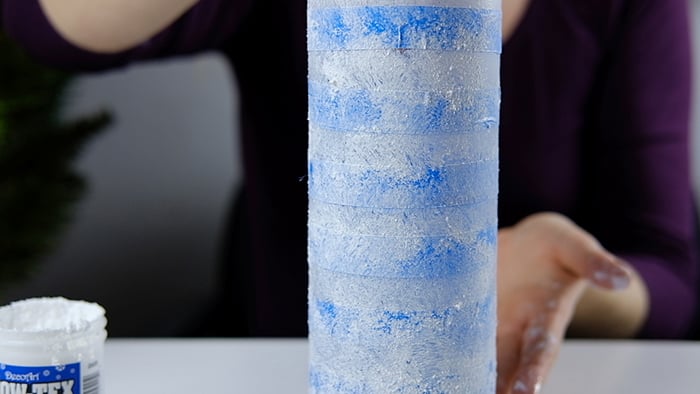
Step 5
Peel the rest of the blue painter’s tape off. This should leave you with a perfectly striped vase.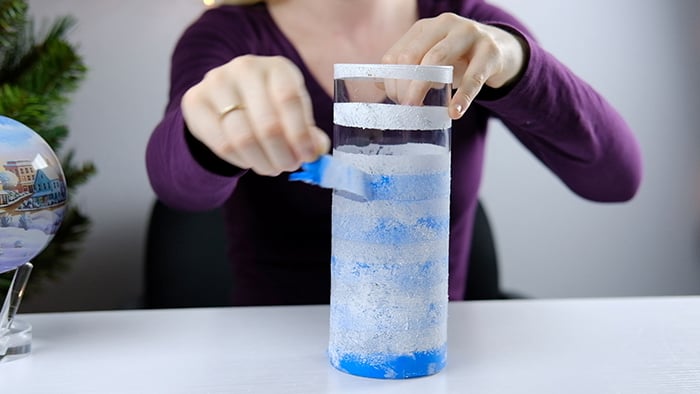
Step 6
Stuff your vase. For vase stuffers, I used a bunch of sparkly, silver materials that I found at Michael’s. However, these vases are so versatile that they will work with any accent color materials that you want.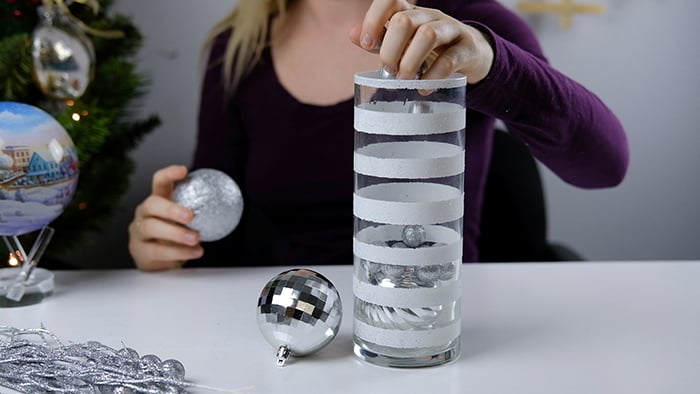
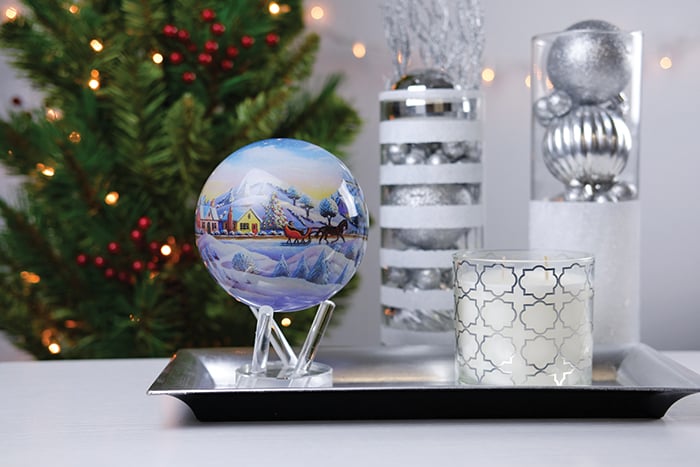
Pictured: Home for the Holidays MOVA® Globe
For more DIYs, check out our Snowflake Wall Art, Travel-Themed Ornaments, and Creative Ways to Give A Gift tutorials.


